Photo Overlay Imaging
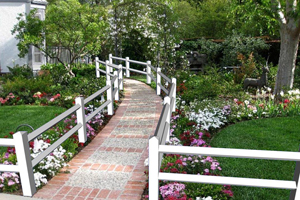
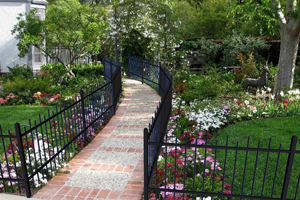
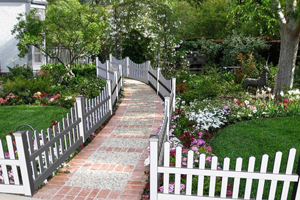
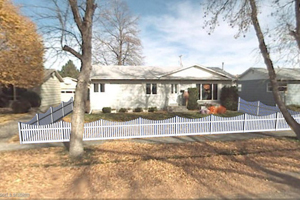
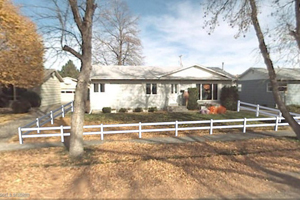
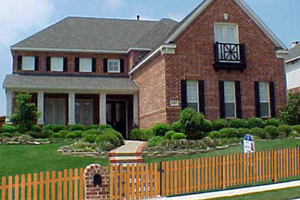
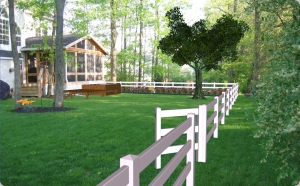
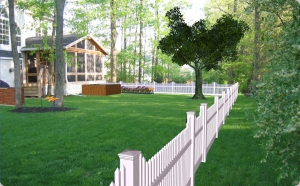
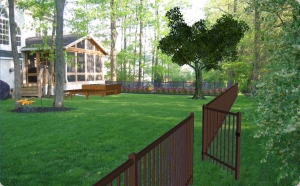
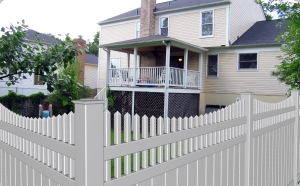
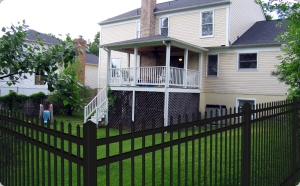
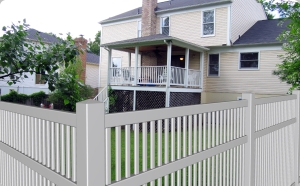
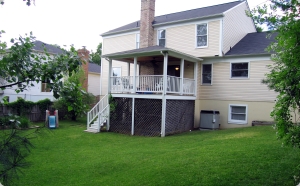
The RealScape Photo Overlay program enables you to overlay hundreds of vinyl, ornamental and wood fences onto digital photographs of your customers project sites.To create a photo overlay, first select the photo you want to work with. Then, using the RealScape Siteplan, lay out the fence that you want to appear on the photo. Then choose Set Pivot Point and "pin" the most distant point of the fence on the Siteplan with a mouse click and then "pin" the corresponding spot on the photograph. This anchors one point of the model to one point on the photo. The 3D fence can rotate around this point.
When you are done with adjustments and have the image the way you want it, clicking Capture Image calls up an edit screen that enables you to erase portions of the fence, essentially bringing background objects into the foreground. Your company logo will automatically be branded into the corner of the new photo. The customized picture can then be saved as a JPG file and printed or emailed.
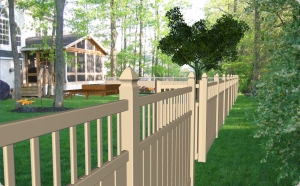
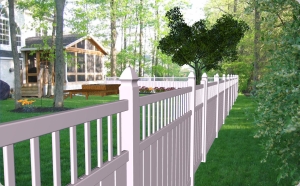
Once the first image is done you can quickly and easily change fence type, style, height or color, capturing an image of each one to be included as part of your proposal.
You do not have to be an artist to use RealScape Photo Overlay. I created the images on this page in a couple of minutes and I canít draw a straight line with a ruler.
RealScapeís cloud based architecture allows you to access the program from any compatible computer with internet access. You can use it at your office, at home, on your laptop, or on your customerís computer. RealScape requires Windows Vista or Windows 7 and is optimized with a dedicated graphics card..
RealScape Photo Overlay is available as a stand alone product. This same functionality is included as part of RealScape Professional.
RealScape Photo Overlay Imaging - examples
RealScape © 2011 | privacy policy
